Wiring a 3-way light switch is fundamental for any DIY enthusiast or homeowner looking to improve their home’s lighting control. Whether you want to add convenience to a hallway or create ambiance in a room with multiple entry points, understanding how to wire a 3-way switch is essential. In this comprehensive guide, we will walk you through the step-by-step process, providing clear instructions, safety tips, and troubleshooting advice to help you successfully wire a 3-way light switch and enhance the functionality of your lighting system.
How To Wire A 3-Way Light Switch?
Wiring a 3-way light switch is more involved than a single-pole switch but can significantly enhance the convenience and flexibility of your lighting system. When you have a room with multiple entry points or want to control a single light fixture from two locations, understanding how to wire a 3-way switch becomes essential. This step-by-step guide will walk you through the process, providing detailed instructions and essential safety tips.
Before You Begin:
Before you embark on this DIY electrical project, it’s crucial to emphasize safety. Ensure you have the following tools and materials ready:
- Two 3-way switches
- 14/3 or 12/3 non-metallic sheathed cable (NM cable or Romex)
- Wire stripper
- Screwdriver
- Needle-nose pliers
- Voltage tester
- Electrical tape
- Wire nuts
Step 1: Identify The Switch Locations
Begin by determining where you want to install the two 3-way switches. One switch will be placed at the starting point, typically near the entrance to a room, while the other will be positioned at the ending point, which could be another entrance or exit.
Step 2: Turn Off The Power
“Prioritize safety by heading to your breaker box and shutting off the power to the specific circuit you intend to work on. Confirm the power is off by attempting to switch the light on and off. Only proceed when you’re certain it remains off.”
Step 3: Remove Existing Switches (If Applicable)
“If you find pre-existing switches in the designated locations for your 3-way switches, take the time to uninstall them. Begin by carefully removing the cover plate, followed by unscrewing the switches from the electrical box.”
Step 4: Prepare The Cables
Run a 14/3 or 12/3 NM cable between the two switch boxes, ensuring you leave ample cable to work with inside each box. Strip away the cable’s outer insulation inside each box to expose the individual wires.
Step 5: Identify The Common Wire
Distinguish the common wire, often colored black or red, and locate the two traveler wires within each switch box. The traveler wires are commonly identified as black and red or black and white with colored tape or markers for clarity.
Step 6: Connect The Common Wire
Connect the common wire from each electrical box to the dark-colored screw terminal on the 3-way switch, ensuring a tight and secure connection with a screwdriver. This essential step lays the foundation for proper 3-way switch functionality
Step 7: Connect The Traveler Wires
In the starting box, connect one of the traveler wires to the light-colored screw terminal on the 3-way switch. Next, connect the corresponding traveler wire from the cable running between the two switches to the light-colored screw terminal on the 3-way switch in the ending box.
Step 8: Connect Ground Wires
“Attach the bare copper or green ground wires from the cables to the green screw terminal on each switch, ensuring a secure connection. Additionally, if the electrical box is metal, connect these ground wires to the box for proper grounding.”
Step 9: Double-Check Connections
“It’s crucial to confirm that all wire connections are firmly in place, providing a secure electrical connection. Verify that each wire is correctly fastened to its respective screw terminal, and employ wire nuts to safeguard any exposed wire ends against potential hazards.”
Step 10: Install The Switches
Carefully tuck the wires into the electrical boxes, ensuring they are not pinched or crimped, and mount the 3-way switches using the provided screws. Make sure the switches are correctly aligned with the cover plates.
Benefits Of 3-Way Light Switch
3-way light switches offer several benefits that make them popular for controlling lighting in various scenarios. Here are some of the critical advantages of using 3-way light switches:
- Versatile Lighting Control: 3-way switches allow you to control a single light fixture or a group of lights from two or more switch locations. This versatility is instrumental in larger rooms, hallways, staircases, and areas with multiple entry points.
- Enhanced Convenience: With 3-way switches, you can turn lights on or off from different room parts without walking to a single switch location. This added convenience can improve the functionality and usability of your lighting system.
- Improved Safety: In areas with multiple entry points, such as staircases or long hallways, having switches at both ends can enhance safety by ensuring that you always have easy access to a light switch. This reduces the risk of accidents in low-light conditions.
- Energy Efficiency: 3-way switches can help conserve energy by allowing you to turn off lights from various locations when they are not needed. This feature can contribute to lower electricity bills and a reduced environmental footprint.
- Aesthetically Pleasing: Multiple switch locations can be aesthetically pleasing, especially in rooms with complex layouts or when you want to maintain a clean, uncluttered appearance by avoiding the need for multiple single-pole switches.
- Customized Lighting Schemes: 3-way switches enable you to create customized lighting schemes by controlling different sets separately. For example, you can have one set of lights near a seating area and another near a workspace, giving you control over the ambiance in different room parts.
- Added Home Value: Installing 3-way switches is desirable for many homebuyers. It can increase the resale value of your home as it offers convenience and flexibility in lighting control.
- Compliance with Building Codes: In some cases, local building codes may require 3-way switches in certain areas for safety and accessibility reasons. Ensuring compliance with these codes can prevent issues during home inspections or renovations.
- Future-Proofing: Installing 3-way switches during initial construction or renovation can be a form of future-proofing. Even if you don’t need the additional switch location immediately, having the wiring in place for potential future use can be convenient.
- Redundancy: Having multiple switch locations can provide redundancy. If one switch fails or needs maintenance, you can still control the lights from another location, ensuring uninterrupted lighting control.
Safety Precautions Before Starting
Ensuring safety before starting any electrical project, including installing or modifying 3-way light switches, is paramount. Electricity can be dangerous; even minor mistakes can lead to severe accidents or electrical fires. To ensure a safe working environment, here are detailed safety precautions to follow before commencing your project:
Turn Off The Power:
Before you begin any work, turn off the power to the circuit you’ll be working on at the circuit breaker or fuse box. This is the most critical safety step. To confirm that the power is off, use a voltage tester to check all wires and switches involved in your project. Never rely solely on the position of the switch; it may be miswired.
Inform Others:
If you work in a household or commercial setting, inform others in the area that you will work on the electrical system. Advise them to stay clear of the work area until it is safe to return.
Gather The Right Tools And Materials:
Ensure you have all the tools and materials required for the project. Using the correct tools makes the job easier and enhances safety. Essential tools include insulated screwdrivers, wire strippers, needle-nose pliers, a voltage tester, electrical tape, wire nuts, and a cable clamp.
Dress Appropriately:
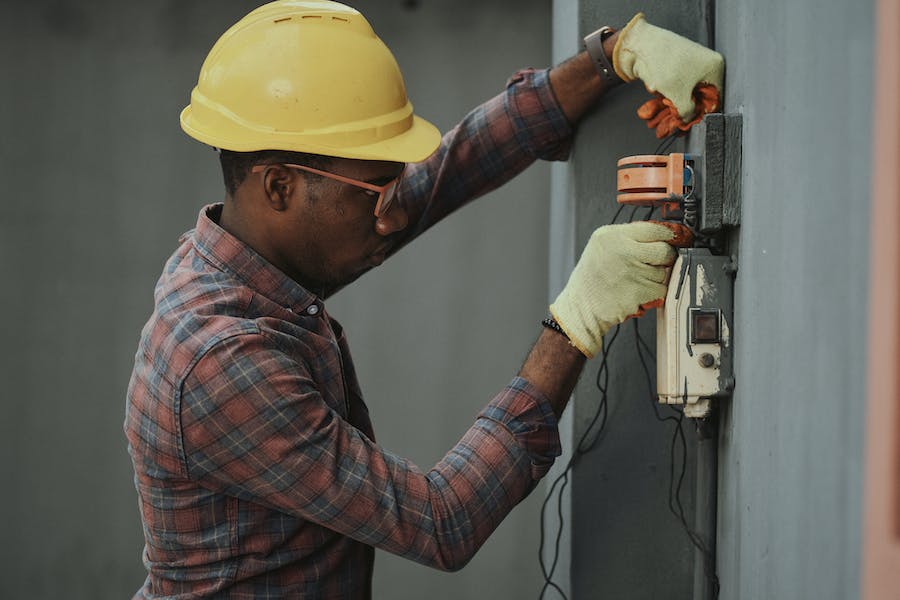
Wear appropriate safety gear, including safety glasses to protect your eyes from debris and insulated gloves to reduce the risk of electric shock. Avoid wearing loose clothing that could get caught on wires or switches.
Understand Local Codes And Regulations:
Familiarize yourself with local electrical codes and regulations. Compliance with these codes is essential for safety and legal reasons. If you need clarification on code requirements, consult a professional electrician or local electrical authority.
Turn Off The Correct Circuit:
Ensure you have identified and turned off the correct circuit at the breaker box. Verify that you’ve powered down the circuit you intend to work on by testing switches and outlets with your voltage tester.
Work Methodically:
Plan your work carefully and follow a step-by-step approach. Avoid rushing through the project, as haste can lead to mistakes and safety hazards. Double-check your work as you progress to ensure accuracy.
Avoid Overloading Circuits:
Before making any changes or additions to the electrical circuit, check its capacity to ensure it can handle the load of the connected devices and fixtures. Overloading a circuit can lead to overheating and electrical fires.
Conclusion
wiring a 3-way light switch is a practical and versatile skill that can greatly enhance the functionality and convenience of your lighting system. By mastering the process and following safety precautions, you can effectively control a single light fixture or group of lights from multiple switch locations, improving accessibility and energy efficiency. Safety should always be the top priority when working with electricity. Before embarking on any electrical project, including 3-way switch installation or modification, take the time to turn off the power at the breaker box and verify that the circuit is de-energized using a voltage tester. Wear appropriate safety gear, work in a dry environment, and adhere to local electrical codes and regulations.